The digital workflow is an efficient, highly precise method for restoring implants. In this article we will dive deeper into scan bodies and their key role in delivering a successful final restoration using the digital workflow.
Dental impressions are a critical step in restoring implants accurately. Restoring implants with conventional workflows, like the open and closed tray techniques require:
- Impression copings and analogs
- Light body impression material
- Heavy body impression material
- Trays
The digital workflow requires:
Scan bodies are the key to success in the digital implant restoration workflow. Let’s find out why.
What is a scan body?
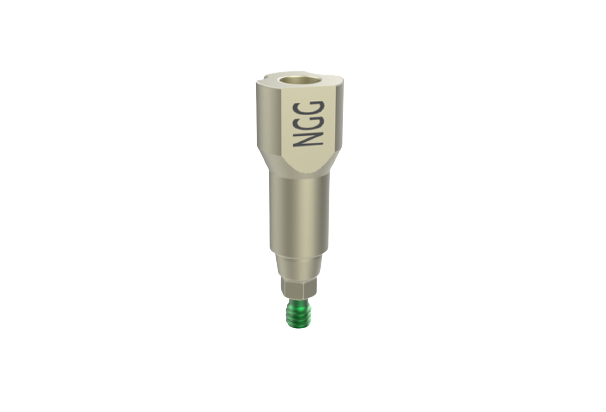
Scan bodies are intraoral implant-positioning-transfer devices utilized in the digital Implant restoration workflow. They play an essential role in successfully designing and fabricating accurately fitting implant-supported restorations.
Because no PVS material is used in the digital workflow, dentists often think of scan bodies as the “digital” version of the impression coping. Dandy provided scan bodies are:
- Titanium
- Autoclavable
- Reusable up 100 times
How are scan bodies used?
Scan bodies are secured into the implant(s) before capturing digital impressions. During the scan, data points needed for the design and fabrication of an accurate restoration are acquired. Before diving deeper into why they are so important – it is helpful to break down some key concepts of scan body use.
Compatibility
Scan bodies are seated and secured into the implant before scanning. They must be compatible with the implant system’s width and connection type. They also need to be compatible with the type of abutment being manufactured – custom abutments or stock abutments. Understanding which scan body to use for your patient’s implant system is not always straightforward. There are hundreds of different systems and sizes. There are dozens of manufacturers, brand-names and clones. Plus, they all look very similar. Dentists need four pieces of information to identify which scan bodies they need.
- The implant manufacturer
- The implant system or connection type
- The implant platform or connection size
- Your patient’s surgical report for confirmation
Dandy simplifies this process for practices with our scan bodies ordering experience. Doctors provide the required implant information, future appointment date, and the surgical report. Dandy intelligently matches this data with the compatible scan body system and ships them directly to your practice. All Dandy practices get this service free of charge.
(note: 2 free scan bodies per implant system)
Seating the scan body
Before scanning the patient, the scan body must be secured into the implant. Some scan bodies are inserted into the implant and tightened by hand, while others are tightened with a driver. Without a successful seating of the scan body, an accurate final restoration is highly unlikely. Successful seating can be verified two ways:
- Radiographically – to assure there are no gaps between the scan body and the implant.
- Floss-test – to make certain the scan body isn’t touching the adjacent teeth. Which may prevent the scan body from seating fully.
Explore Dandy Scan Bodies
Reusable up to 100 times and autoclavable, Dandy provides free scan bodies.
Scanning Workflow – Scan bodies are the key to success
The scanning workflow is when scan bodies are fully utilized. First, the doctor will scan the opposing arch, then the emergence profile (after the healing cap is removed). At this point, the scan body must be seated and the doctor continues with scanning the scan body. Finally concluding with the bite scan.
Scanning the patient with a properly seated scan body is the key to producing an accurate restoration.
During the scan, scan bodies aid in capturing important 3D data points utilized by the lab during the design and fabrication phases.
What data is captured during the scan of a scan body?
3-dimensional measurements on implant:
- Trajectory
- Depth
- Rotation
All of these data points are automatically captured and then used in the design and fabrication process. These data points provide the lab all that is necessary to produce an accurate implant-supported restoration with the occlusal contacts, margins, and preferences the dentist prefers .
Dandy Chairside
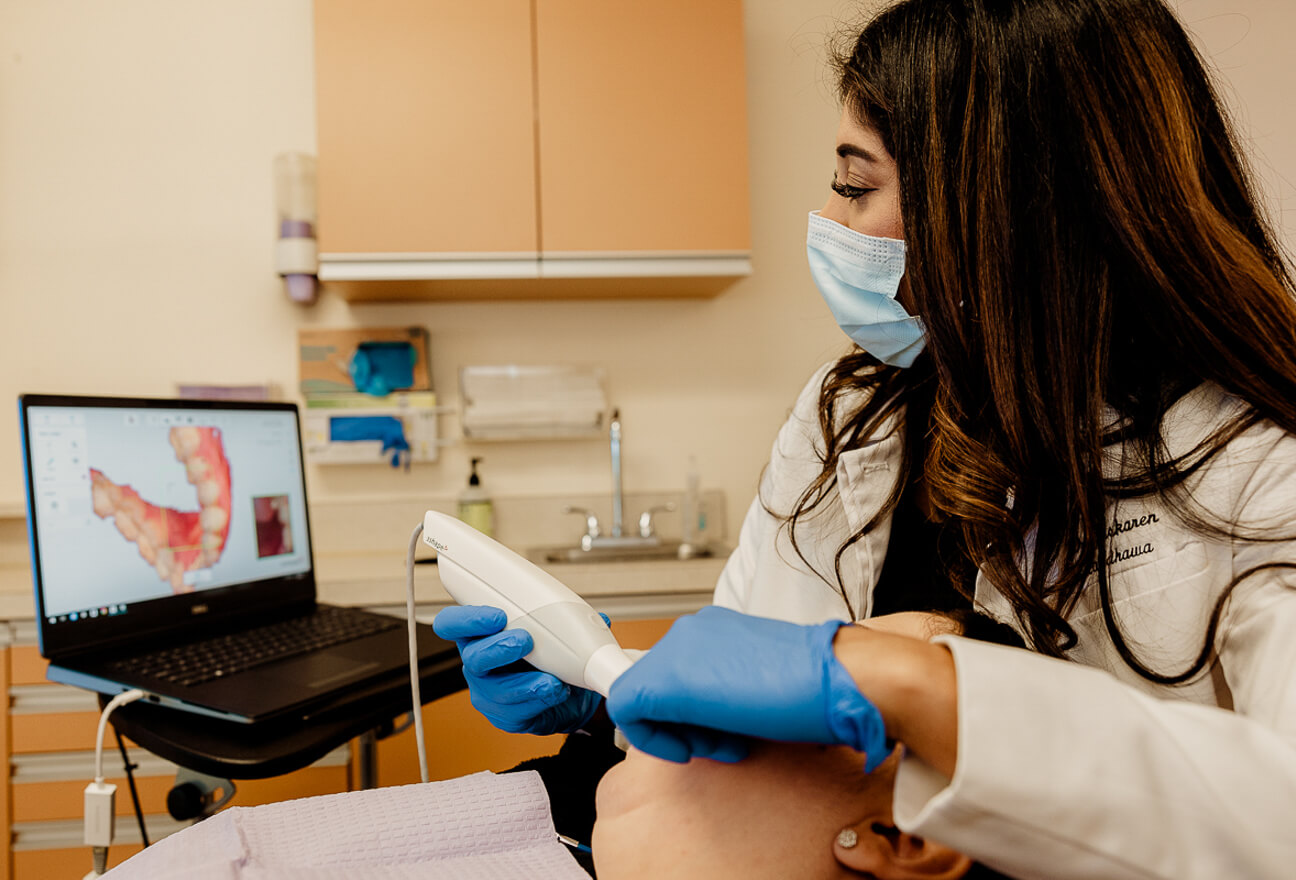
Performing the digital workflow for implant restorations can be confusing due to the multiple steps involved. Dandy Chairside guides practices and staff members step-by-step, with tips, visuals, and support.
Learn more about Dandy Labs here >
Conclusions
As more practices adopt digital technology within their practices, implant restoration using the digital workflow is becoming more and more prevalent. Understanding scan bodies and the role they play in dental implant prosthetics is key to feeling comfortable adopting this new method.
A study done with second-year Harvard School of Dental Medicine students evaluated the efficiency, difficulty, and operator’s preference of the digital implant workflow vs conventional. [1]
The study concluded digital impressions resulted in a more efficient technique than conventional impressions. Longer preparation, working, and retake time were needed to complete an acceptable conventional impression.
Difficulty was lower for the digital impression compared with the conventional ones when performed by inexperienced second year dental students.
Here at Dandy, we help doctors adopt the digital method within their practice through 1:1 training, live scan reviews, scan body help, and more. As a fully digital lab, it is in our best interest to help our practices and their entire staff become proficient with scanning technology (which we offer for free) so that we can do our best work serving you with an accurate restoration!
Sources:
[1] Lee SJ, Gallucci GO. Digital vs. conventional implant impressions: efficiency outcomes. Clin Oral Implants Res. 2013 Jan;24(1):111-5. doi: 10.1111/j.1600-0501.2012.02430.x. Epub 2012 Feb 22. PMID: 22353208.
